Published: May 3, 2023 by
“Testing our software is difficult, because of the hardware involved”, is a common sentence when developing software for a specific hardware platform. Testing software that interacts closely with hardware indeed complicates the testing setup and in turn, often means that additional cost and effort are required. As the range of “embedded software” goes from low-level firmware running on a specific chip to software running on a specifically designed operating system with custom peripherals there is no one-size-fits-all solution to this. However, there are some strategies and principles that can help to make testing when easier and more effective.
The obvious goal of testing is to ensure that the software and hardware work as expected and to catch regression bugs as early as possible. With hardware involved catching regression often becomes quite important as the specific environment that the software is running on might evolve and introduce new bugs. The trivial approach is to “just run your code on the hardware”, but depending on the setup, this might not always work. The hardware might be too expensive to have available in large quantities or the setup might be too complicated to reproduce and maintain at scale - Not to mention that having lots of hardware around might also be quite expensive. So a good testing strategy is usually a tradeoff between fast feedback and running tests in an environment that is close to the production environment. If I have to choose, I generally put slightly more emphasis on quick and timely feedback to the developers than on creating a perfect testing environment.
Building a testing strategy on the test pyramid with hardware
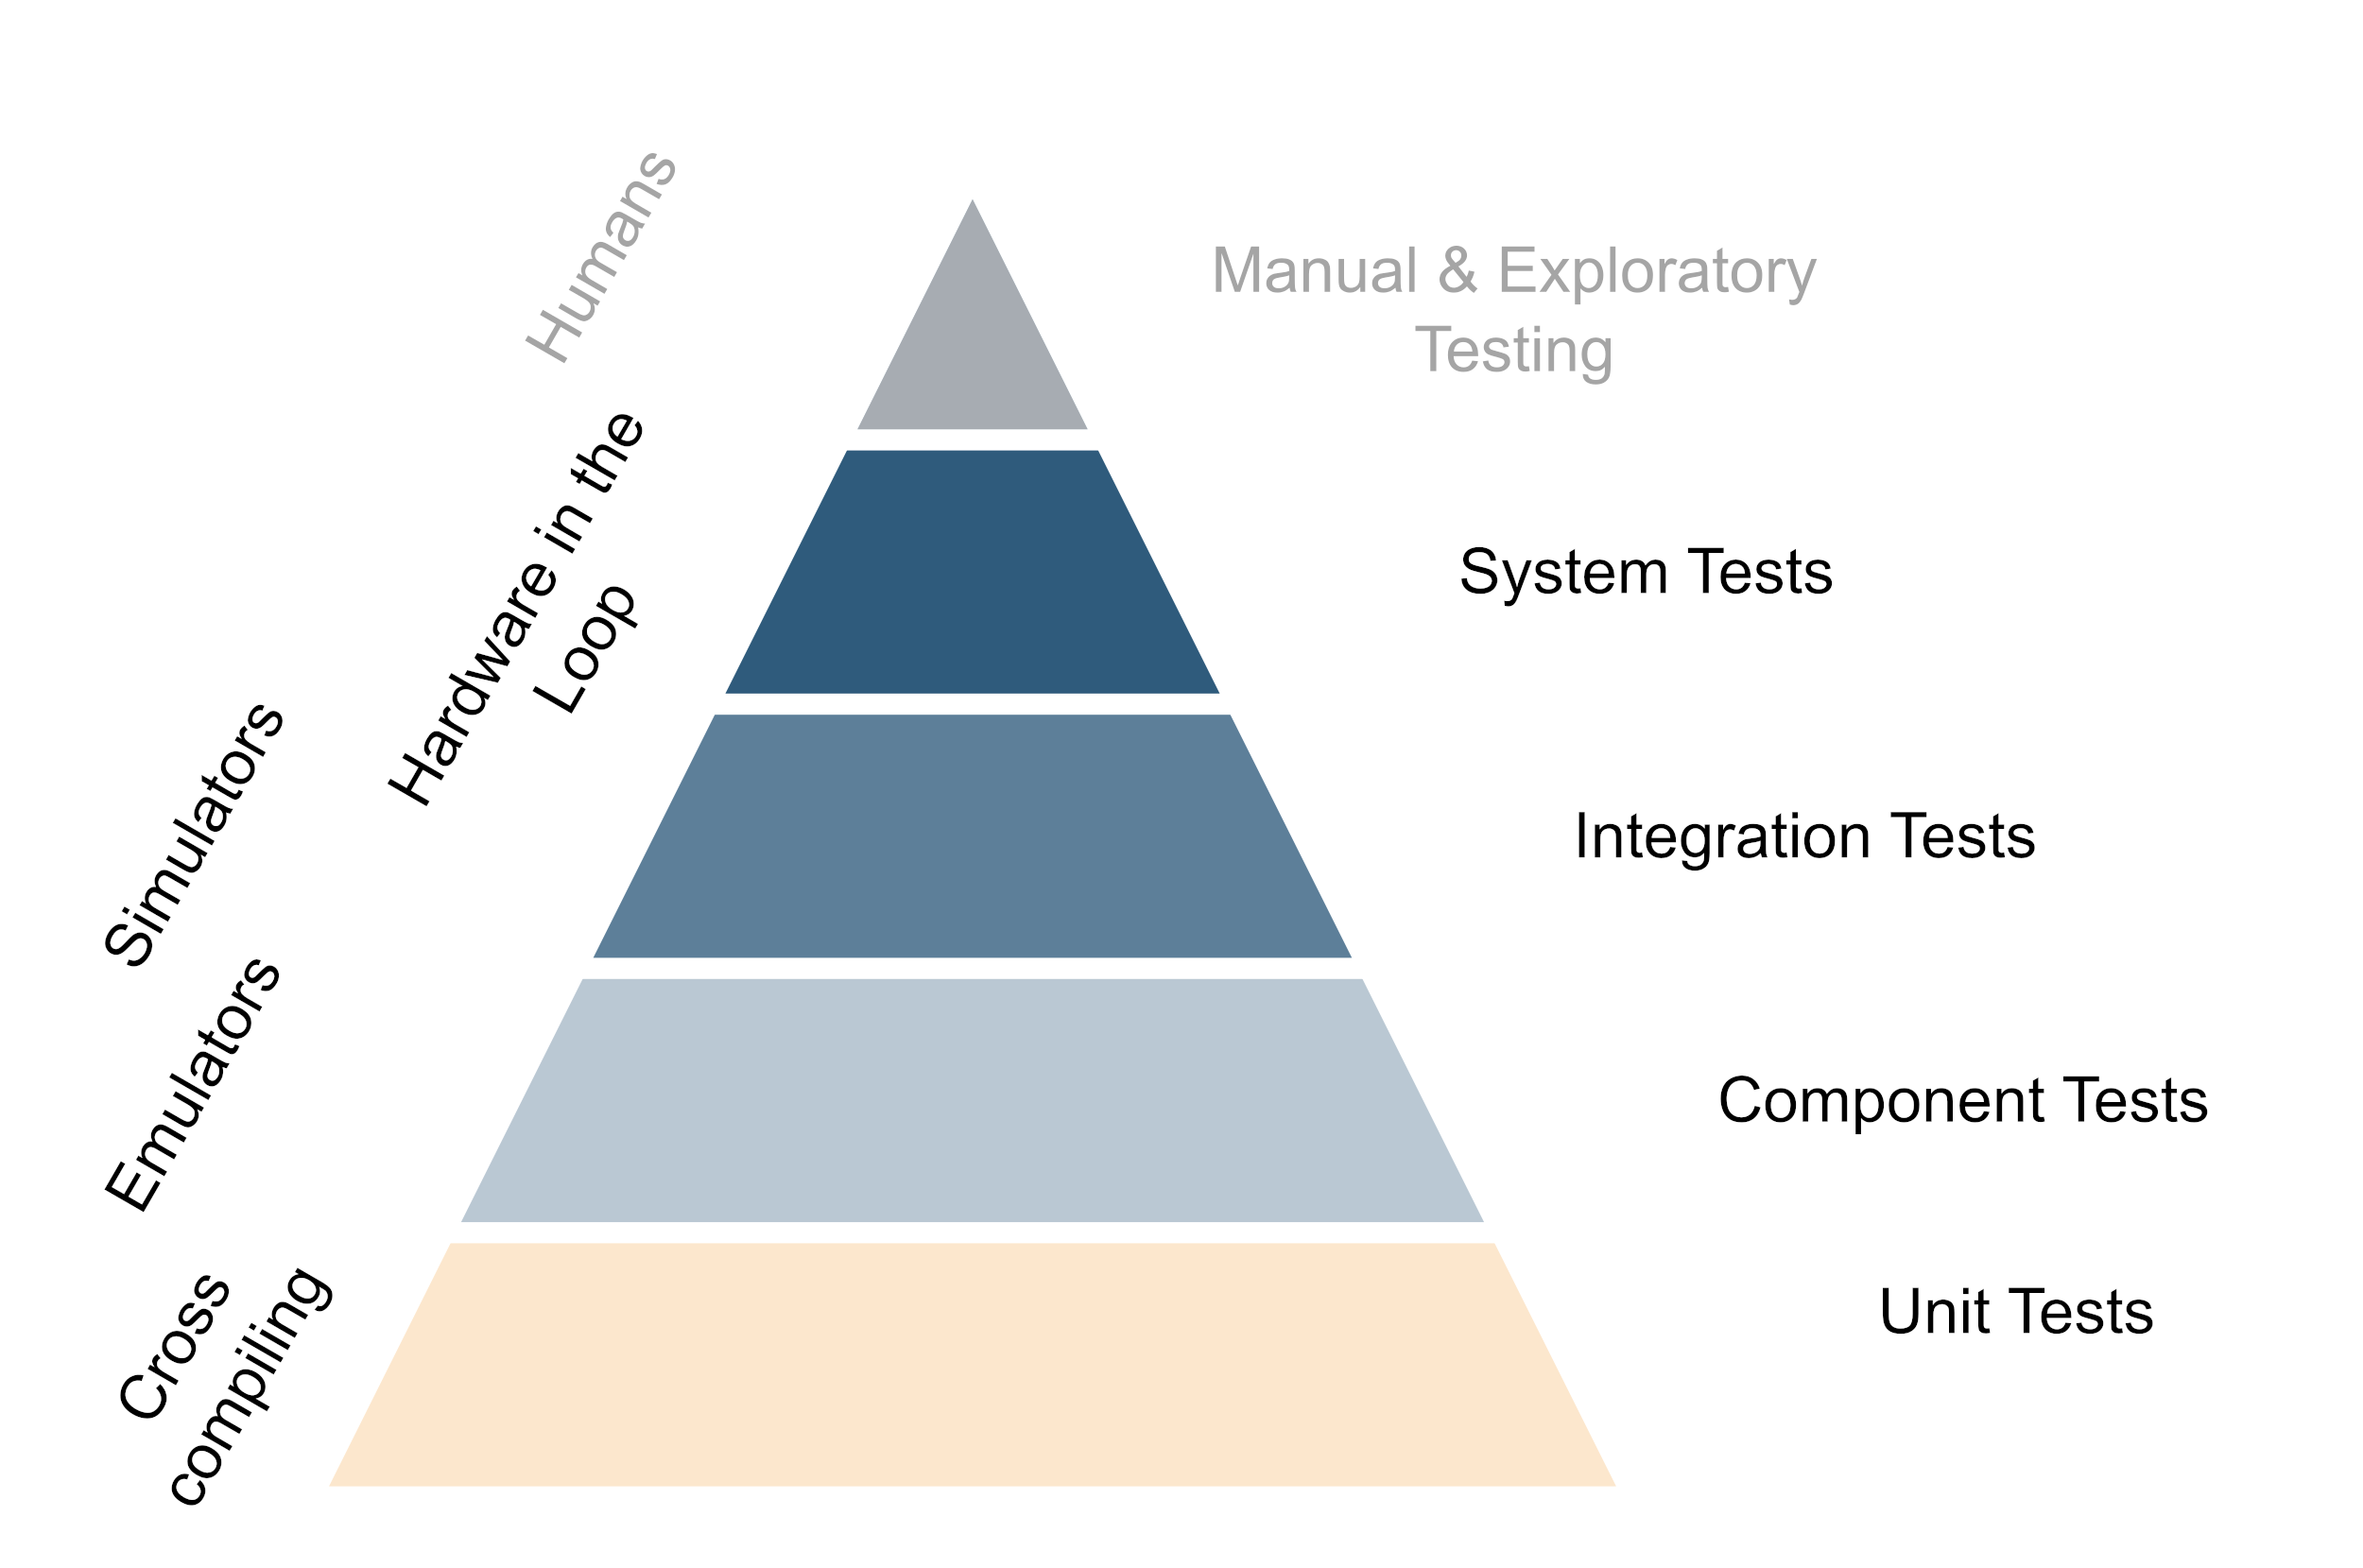
The underlying principle of good testing strategies with hardware is to get important feedback from testing as fast as possible while trying to while keeping the maintenance cost of the hardware setup to a minimum. This means that in the day-to-day work, developers should be able to test as much functionality straight out of their editor and only use the real hardware when working on something that is super closely tied to the hardware. For everything that is only slightly relying on the hardware, the tests should preferably be performed by the CI. Of course, developers should have hardware available to run their stuff on and do so once in a while, but not every change should need deployment to the target hardware. This is generally achieved by structuring code in such a way that the hardware-specific code is isolated and can be mocked away easily. Secondly, it is achieved by investing in the build system so the code can be cross-compiled easily to run on the development machine and the actual hardware as well. Also the further up you move on the testing pyramid, the more one benefits from running tests on real hardware - But generally this also means more expensive and time-consuming tests.
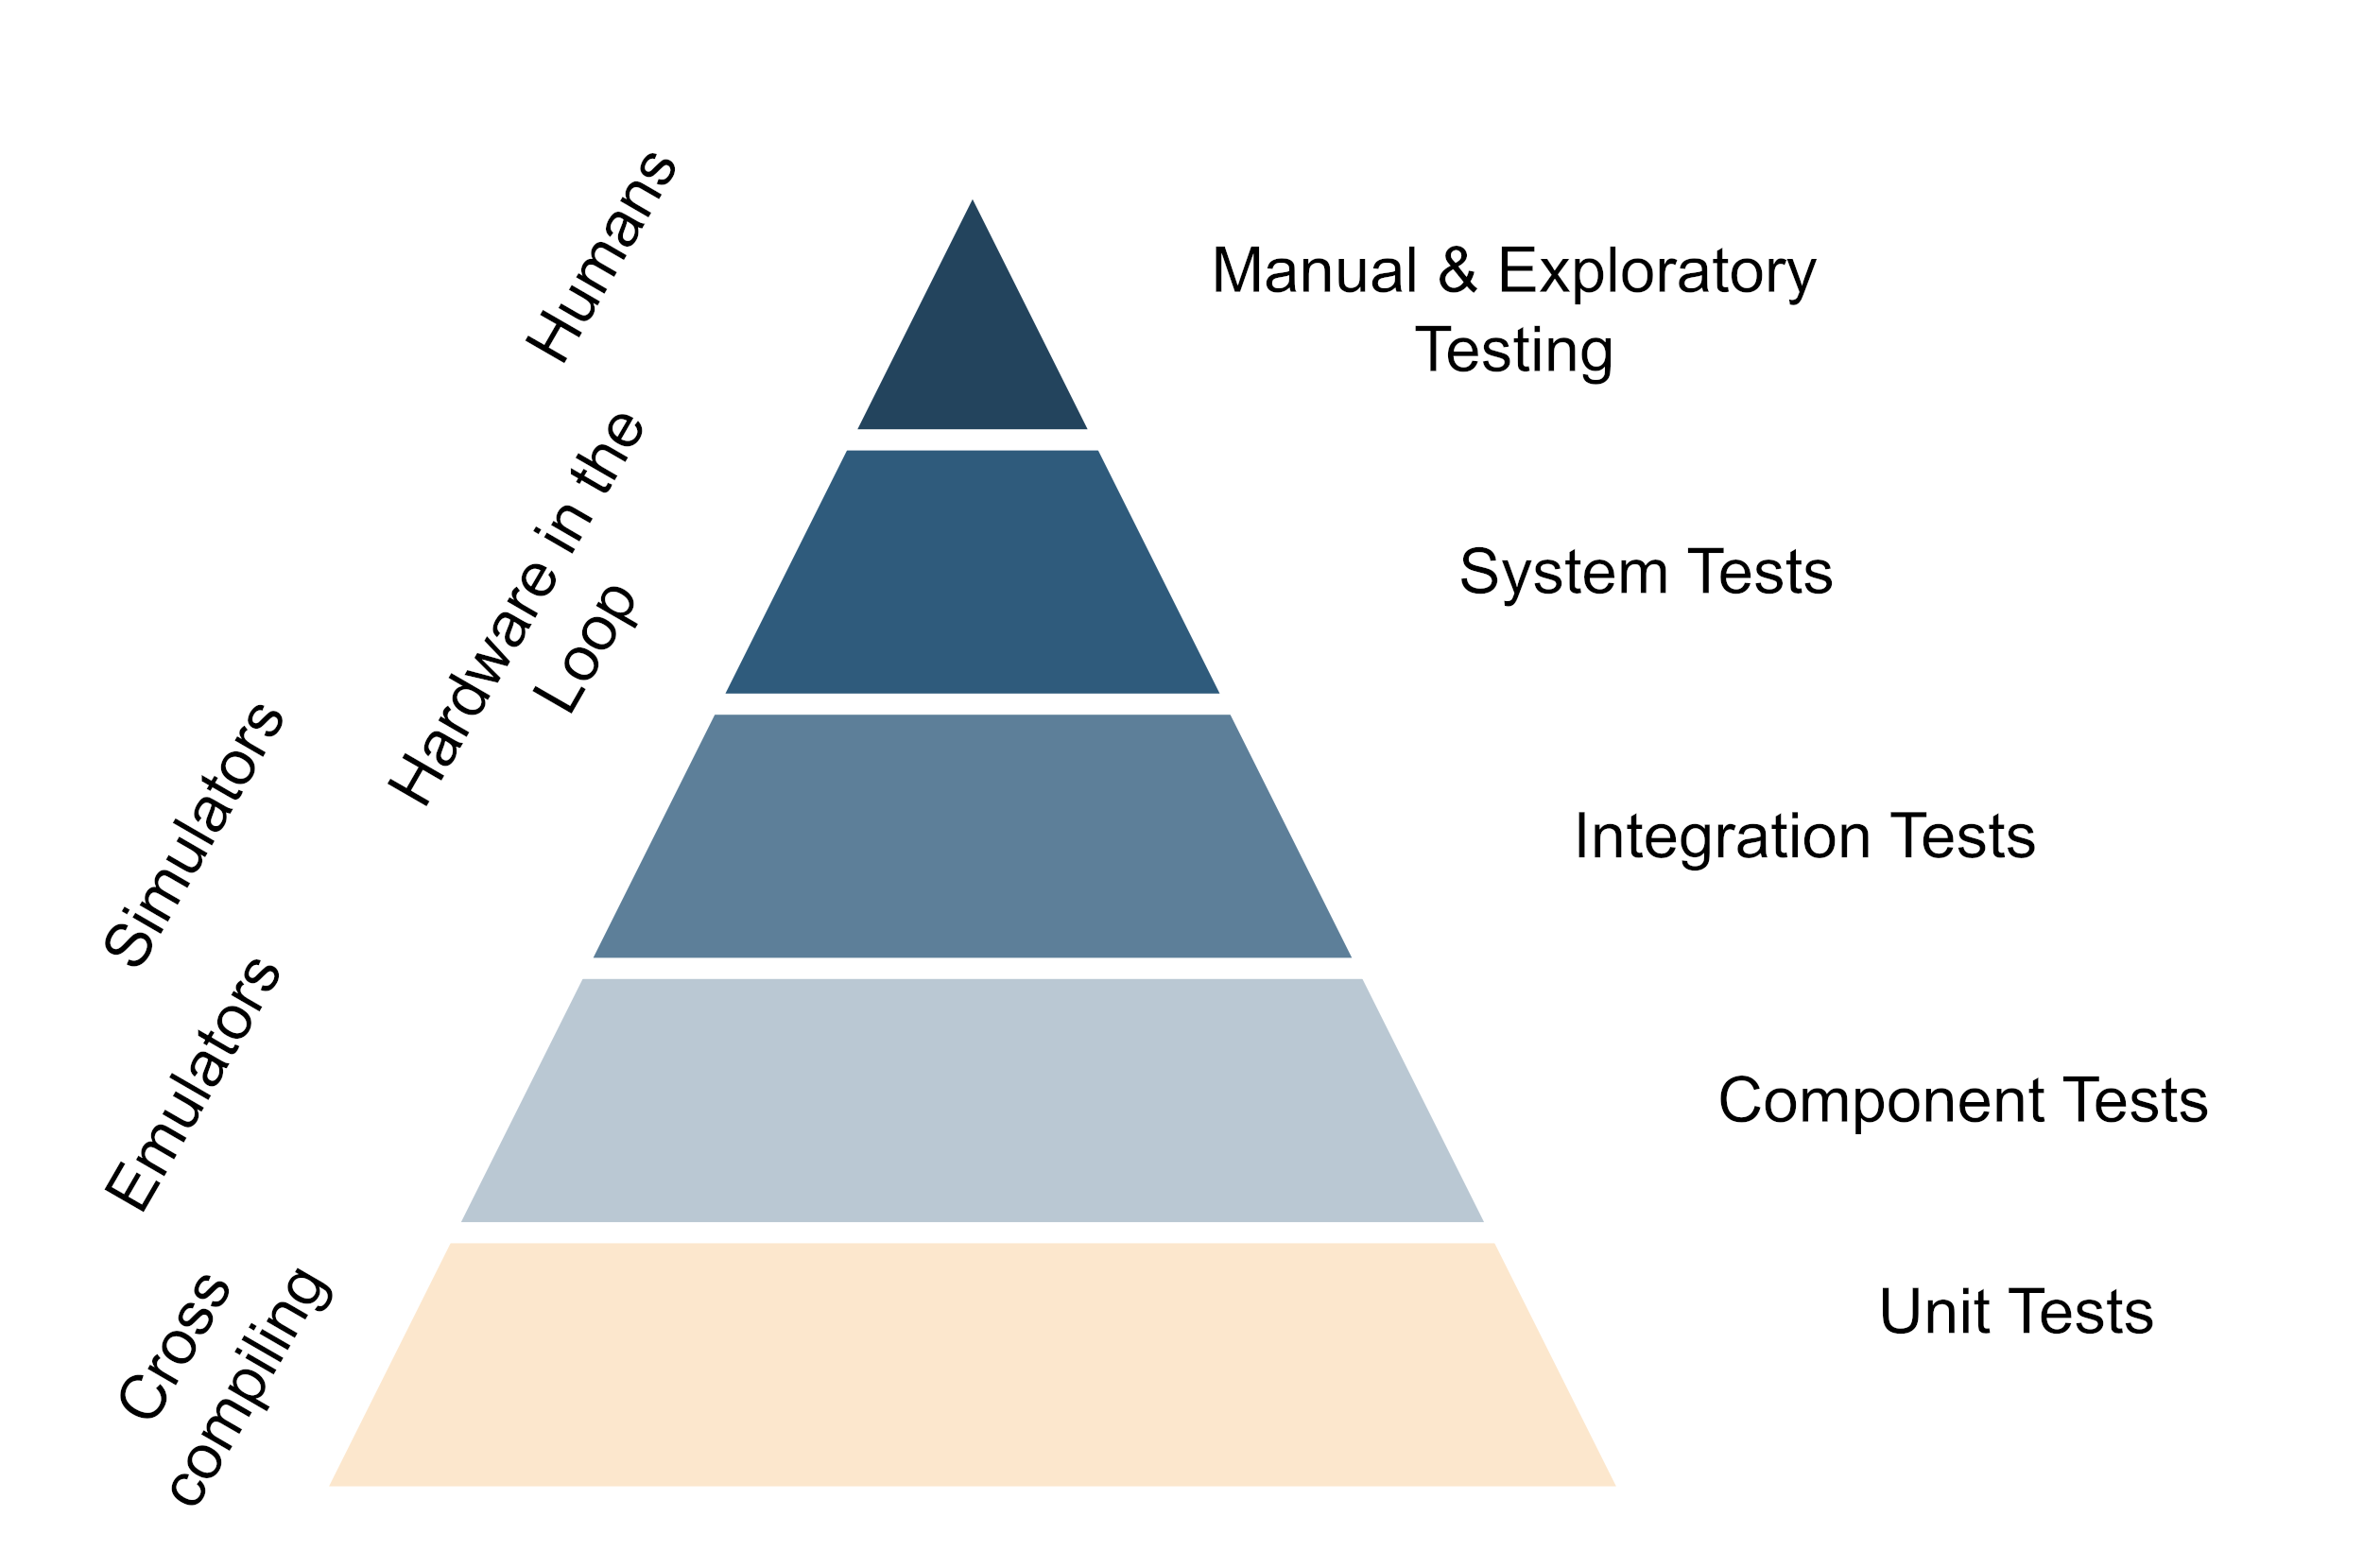
All automatic tests should be run on every commit to the main branch of your repo or even on every commit pushed to any branch if the time frame allows that. In reality, this usually means a staged CI pipeline, which runs all unit tests and some of the fast integration tests on every pushed commit, but runs the more expensive ones only when a merge request to the main branch is opened. This way you get fast feedback on the state of your code and you can catch regressions early. And of course, do not forget to regularly run the manual tests on the full set of hardware as well. While all tests should also be run locally by the devs, I usually only run the unit tests concerning the code I’m currently touching unless I have a very specific reason to run the full test suite.
An important thing is that even if the test pyramid shows emulators, simulators etc. the setup should be so, that most of the tests can be run on the actual hardware itself as well and this should also be done regularly to catch hardware-induced regressions. The same applies to the development machines, all emulator- or simulator-based tests should be runnable on the dev’s machine for easy debugging and the devs should have easy access to the hardware for debugging. Let’s look at the different levels of the testing pyramid in more detail. One thing to note is although the levels are shown as discrete steps, in reality, there is often a lot of overlap between them.
The foundation: Cross-Compiling and Unit tests
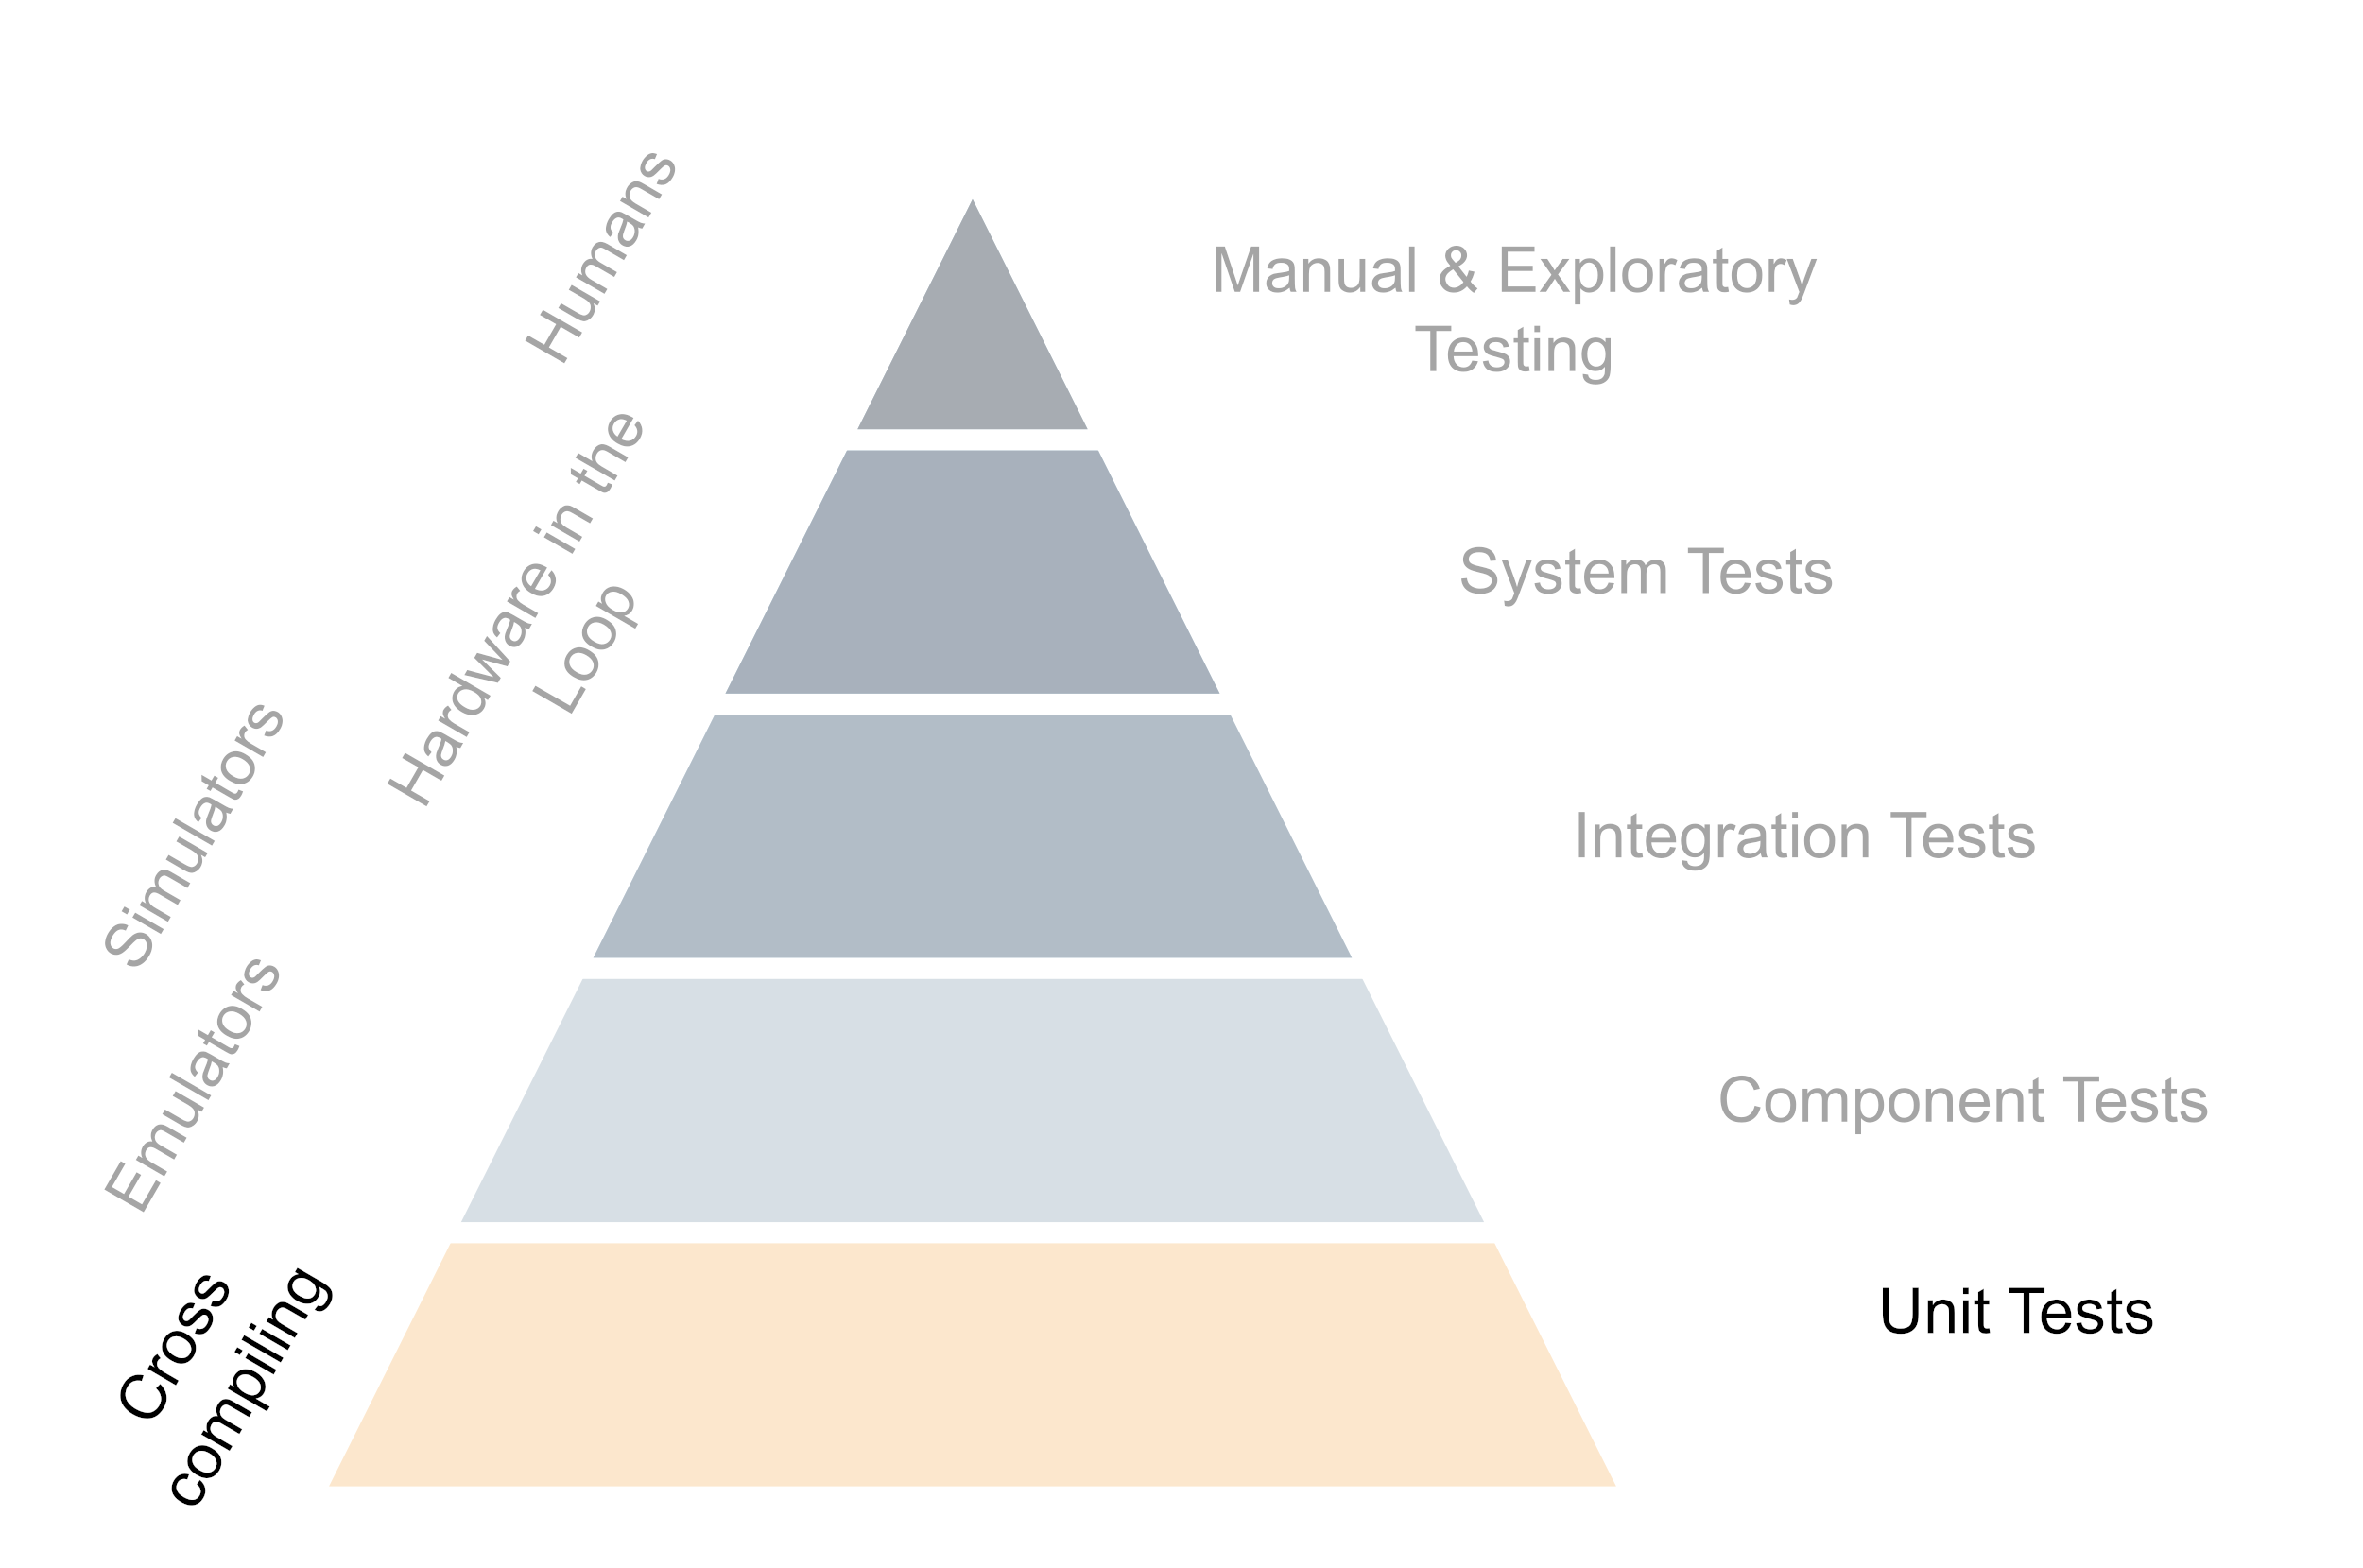
The base of the test pyramid consists of the smallest and most basic unit tests. Usually, they are also the most numerous and are intended to be run very frequently - so the individual test should be fast. When doing test-driven development (which you should!) these are the workhorses regarding software quality. Because the developers need to be able to run them frequently, the ability to easily cross-compile your code so it can be tested on the developer’s machine and the target hardware is a must. There usually are some unit tests that require some information about the hardware environment, but often the majority of the code can be tested very well by mocking the hardware away.
The lower middle: Emulators and component tests
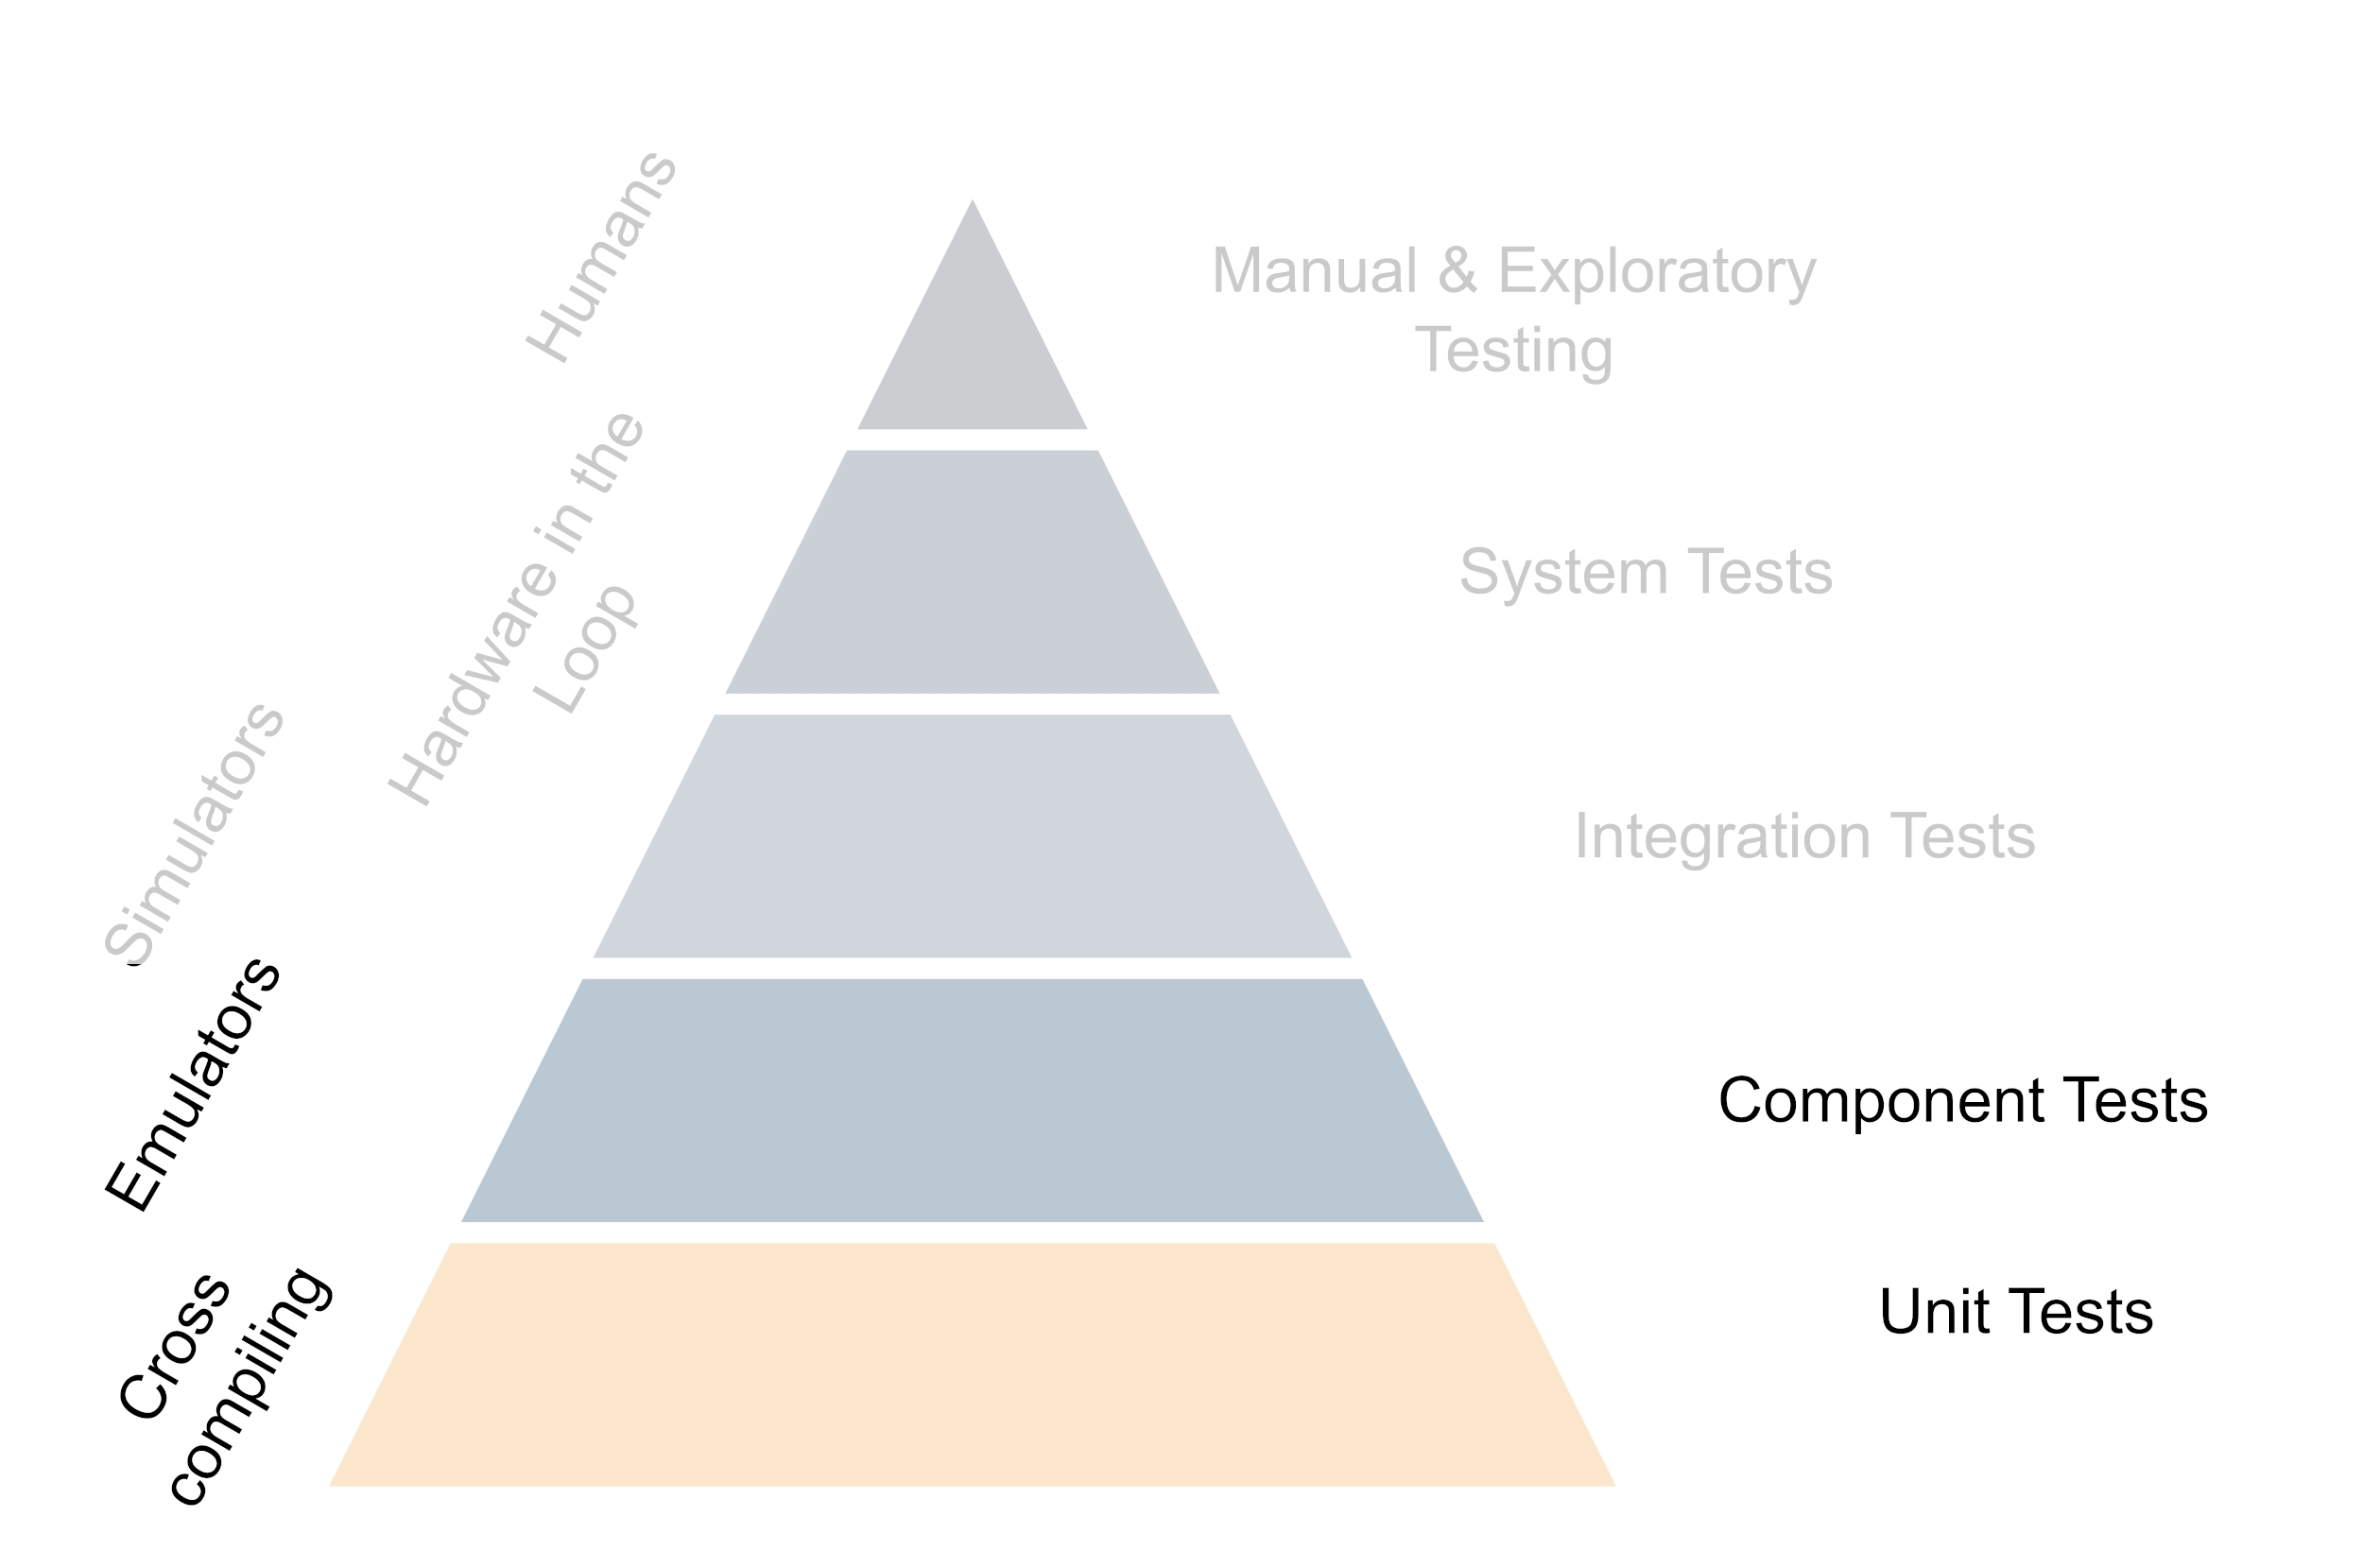
Component tests are usually a bit more complex than unit tests and they test a larger part of the system but are still pretty localized regarding the code. They are usually still fast enough to run on the developer’s machine and they can be run very frequently on the CI as well. The main difference between unit- and component tests is that component tests are more likely to require some limited system awareness. Emulators like QEMU are a great way to enable low-cost automation and bring some of the behavior of the hardware into play including faking peripherals. Emulators mimic the hardware on a low level but often without the full setup of all running services etc. One downside of the emulators is that they cannot give any indication about the runtime performance of the hardware, for this only the real hardware can be used.
The upper middle: Integration testing with simulators
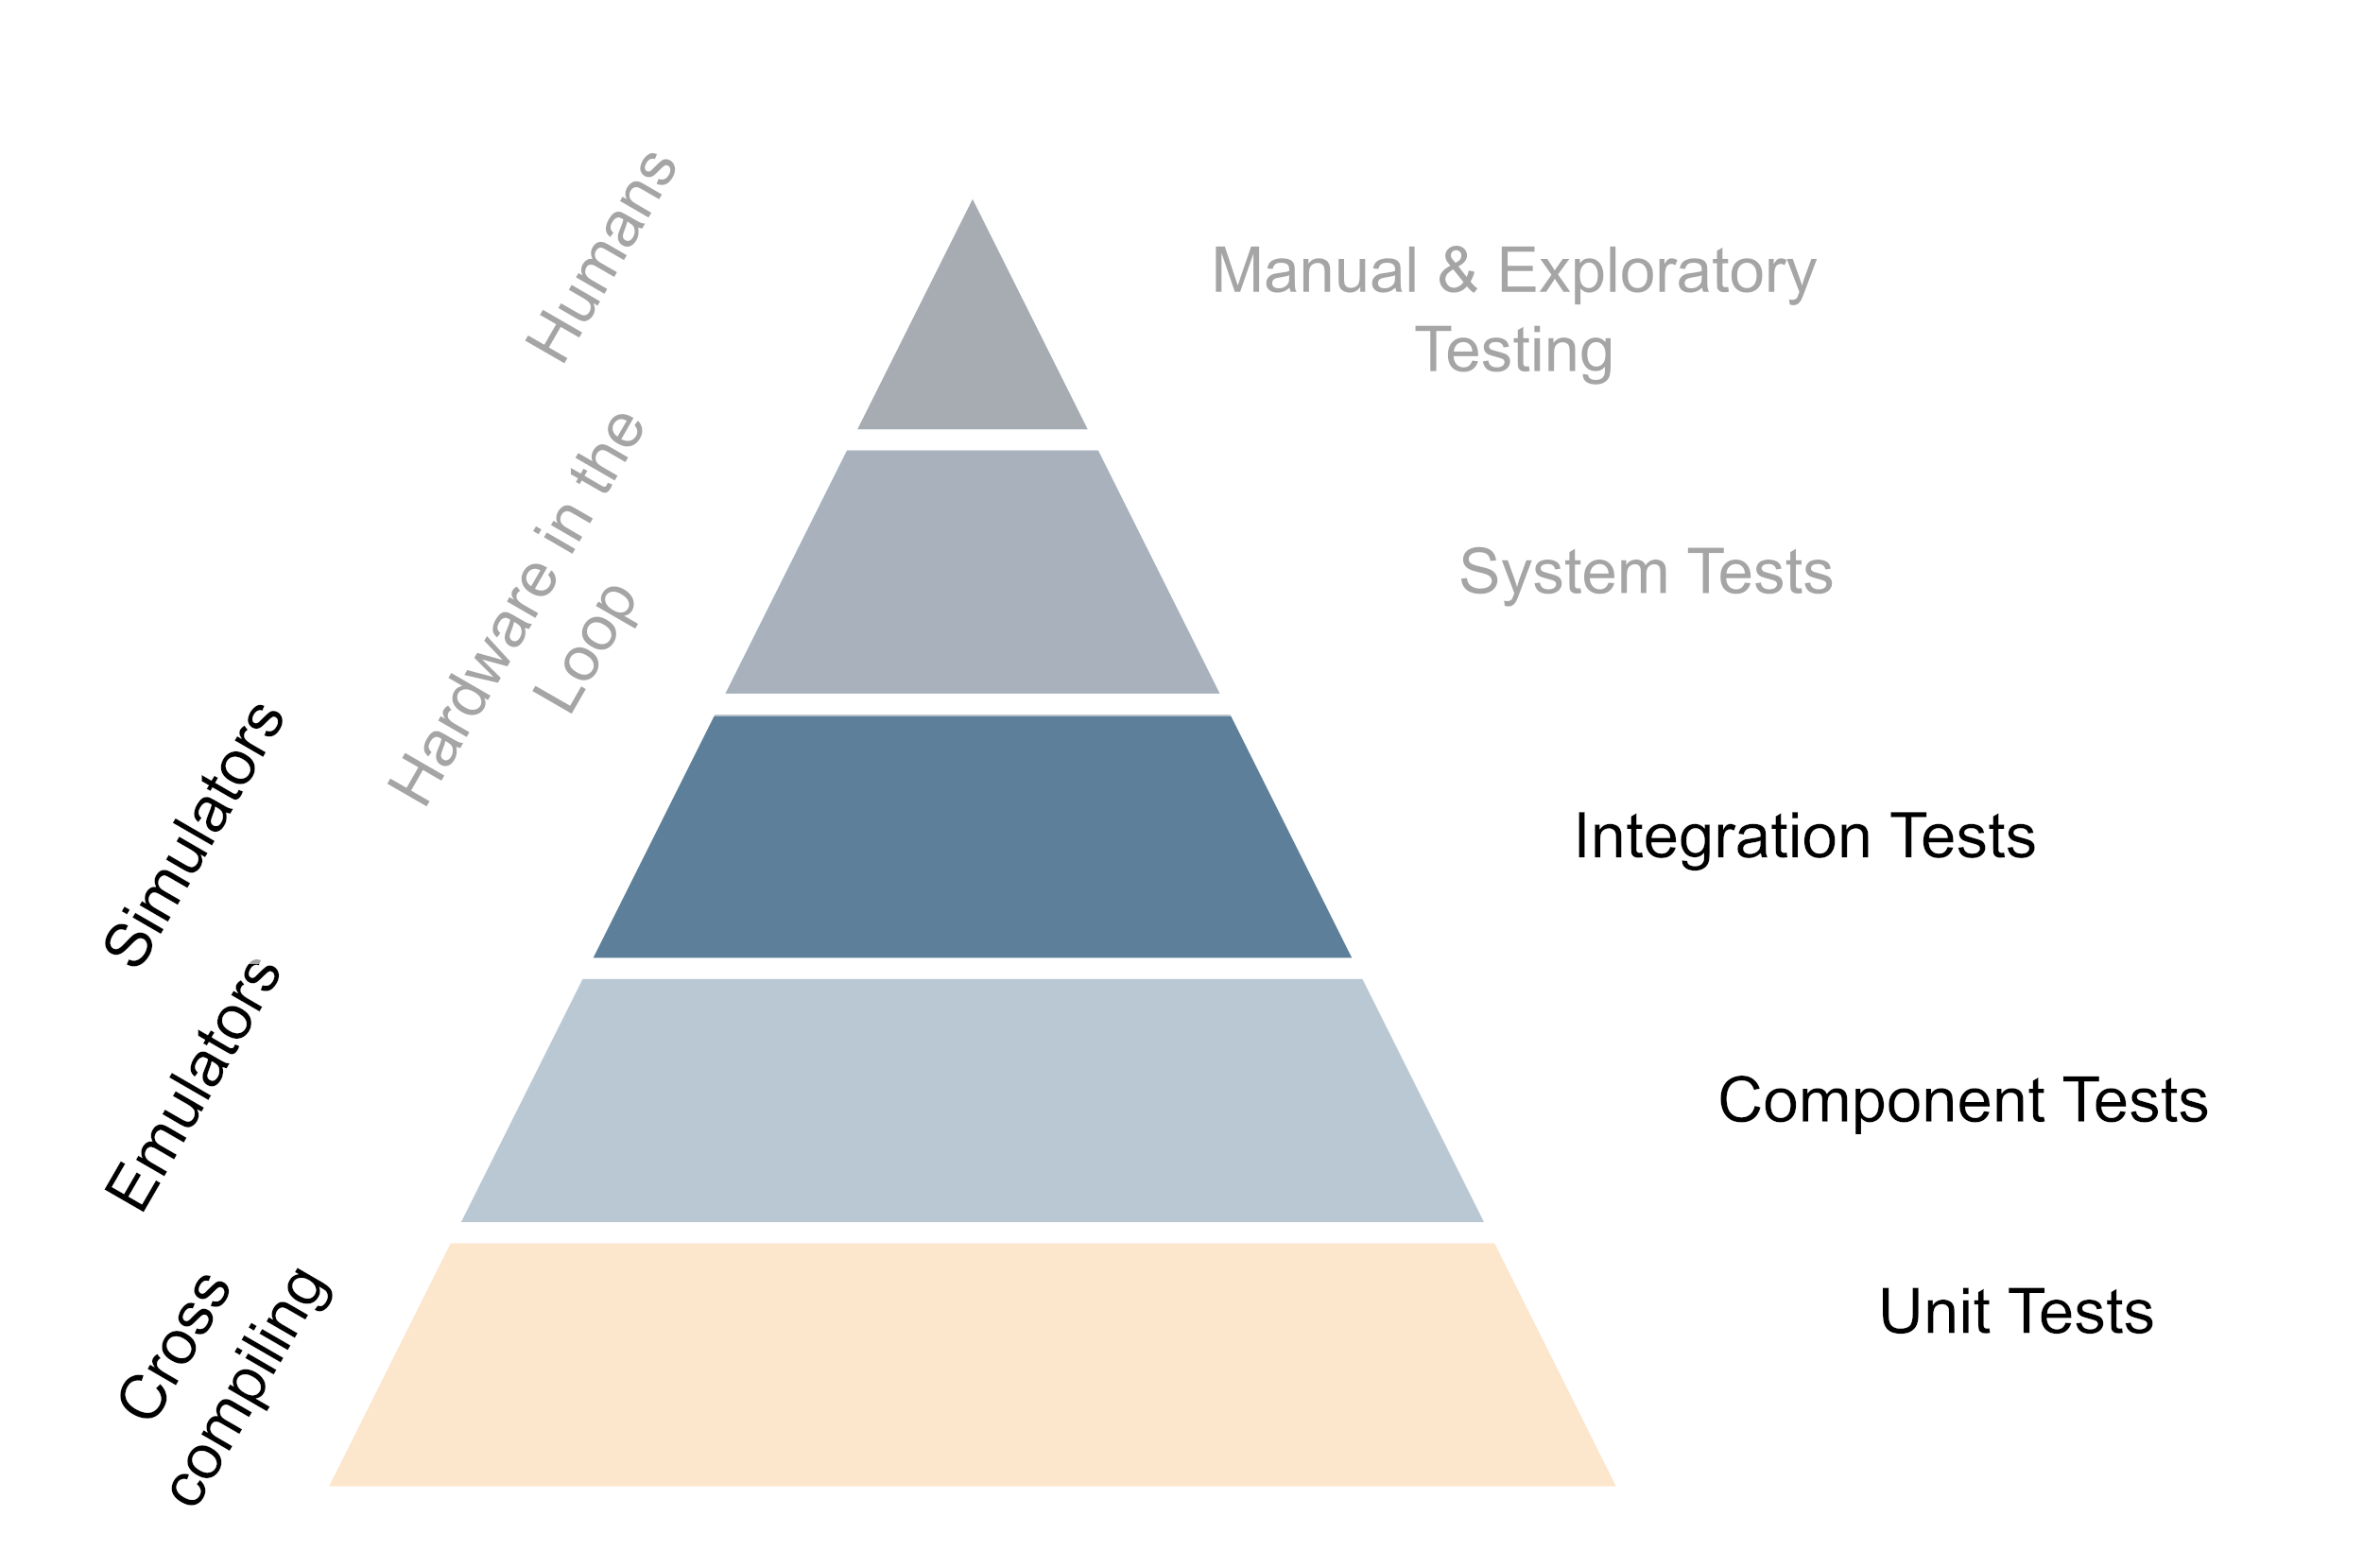
As soon as the components cannot be tested in isolation there is usually also some more surrounding logic needed. This is where integration tests come into play. Integration tests are again more complex than component tests and they test a larger part of the system. They are usually a combination of multiple components but still do not need the full system setup. The way to tackle this is to use simulators on top of the emulators. The main difference between emulation and simulation is that simulators can play back input, and higher-level logic or mimic a changing environment. This means that they can be used to test the interaction between the software and the hardware up to the system boundaries. The distinction between emulation and simulation is not always clear cut and there are often some gray areas. Although not always possible, being able to run the simulator not only on emulation but also on the non-native environment helps generate faster feedback as well. A very useful addition that comes in somewhere at the boundary between simulators and the real hardware is that here we can also test the deployment of the software on the target device, although some might this consider already a system test rather than an integration test.
The top: Hardware in the loop
The closer we get to the very complex system tests the more the need for hardware. While the unit-, component- and integration tests should be runnable on the real hardware running the more complex tests yields the most benefit from running on the hardware. It still pays to invest in automation and having system tests running regularly and frequently on your code to avoid some nasty surprises when deploying the software for real. As the availability of the full hardware setup is often a limiting factor and a bottleneck having the hardware in relatively late is a trade-off between the cost of the hardware and the amount of information gained from running on the hardware and the effort of integrating hardware into CI. However, for running the system tests that effort should be taken on to create at least one full set of the system for testing.
The tip: Involve Humans
Automatic testing is a tremendous cost saver and a very good way to get fast feedback back to the developers. But at some point, nothing beats a human tester. This is also where you want to be as close to the real, completely assembled device as possible. While manual tests might still need faking of some parts of the system, it is a very good way to get a feeling for the system as a whole. Often with manual tests the boundary between testing and quality assurance becomes a bit blurry, especially if the automated tests are solid and already cover a lot of the functionality. Nevertheless, it is often human testers that catch some of the more subtle bugs or point out where things are not optimal. And for that having the whole set up in a close-to-real environment is a huge benefit. Another huge benefit of having such a system around is that it can be shown to customers and stakeholders to get feedback on the usability of the system or to train them in operation.

Balance is key
Investing heavily into testing is a great way to ensure that your software is of high quality but as always there is a balance between effort and gain and there is no catch-all solution for testing strategies regarding hardware. Talking with your team about the testing pyramid and how you want to structure your testing strategy around it is a good starting point. Have a look at the different levels of the pyramid and see where you can get the most bang for your buck. For pure software projects starting to build the pyramid from the base upward is often a good idea. When hardware is involved it can sometimes be beneficial to build the tip first and then start at the bottom, just make sure that the pyramid does not get top-heavy regarding the number of tests. Even if the approach described in this article might not work for your specific situation, I hope that it gives you something to start a conversation about setting up your tests in a meaningful and cost-effective way.
Share
